Pages

Sunday, December 20, 2015

My Nettie Bodysuits

I never knew what I was missing! Bodysuits are the best thing ever invented! I can't stop making them!


I had my eye on the Nettie pattern for a while, but I just hate printing patterns at home. I finally bought it because I figured how many pages can one bodysuit pattern be. The pattern was completely worth it. I think Closet Case Files might be magical, she comes out with patterns that are really special, but at the same time easy for almost all home sewers to sew up really nicely. Even notoriously hard to sew things like swimsuits! And on top of that, her patterns are flattering on all body types and seem to fit everyone without much alteration! How does she do it?!? I am definitely going to download the Bombshell Swimsuit pattern next. I had my eye on it too for a long time, since I now know how amazing her patterns are, I will order it without a doubt.


This body suit is so comfortable and the cut is so flattering. I made it out of fabric I got almost 8 years ago on my very first trip to New York. I could never really decide what to make with it, but I knew it would eventually come to me.....8 years later. I chose the higher necklines, and I was going to leave out the crotch snaps, because I was getting too excited to finish it. Luckily I tried it on before putting the leg bands on, well really I attempted to get into it is more like it! I realized I couldn't fit my hips through the higher version of the neckline! So I had to go back and add in the crotch snaps. I was glad I did because I think its my favourite one so far. I love how versatile these bodysuits are!


Bodysuits aren't really as much of a hassle as people think, as long as they have the crotch snaps! Otherwise they are awful! I have this winter shorts romper and it drives me crazy! I basically have to get completely undressed to go to the bathroom!

I made a second version in this really stretchy knit. This one is super comfy as well! The only thing with this one is its a tiny bit see through. But I wear this one to sleep in mainly so thats alright!


I sewed most of the grey bodysuit on the serger, excluding the neck band and leg bands. I planned to do the same on the blue one, but for some reason my serger was hating the fabric. So I opted for a zigzag stitch on my sewing machine. For the finishing bands, I sewed them on using a slight zigzag stitch, then pressed them down and topstitched them using a double needle. Then I trimmed off the excess seam allowance really close to the stitching using appliqué scissors. This worked out really well and gave it a nice clean finish.


I thought of using smaller snaps, but I worried they wouldn't make it through all the layers. 


I have so many more fabrics in mind for this pattern! I am thinking for my next version I will do it out of a black stretch velvet, in the dress view with a mini turtle neck.

. . . 

I finally got the ironing set up of my dreams! I don't know why I hesitated for so long because it was definitely worth it! It's a Reliable professional steam iron paired with a vacuum board. The only problem is my cat has discovered the heated board and has claimed it! He's just a warm blob that won't move no matter what I do! It reminds me of this one year we got the fireplace fixed and me and Prince just lived in front if it, too warm to move, for about a month before it broke again. We were very upset but really, if it hadn't of broken, we would still probably be there 2 years later now!

Monday, December 7, 2015

Bow Ties!


I've been working on a little project for Christmas! Bow ties! I recently got the opportunity to put some of my designs in a retail store. I didn't have much time before the holiday shopping started so I thought bow ties would be the best choice. I already had a bow tie pattern worked up, and all I had to do was modernize it a bit by slimming it down. I made them out of all kinds of fabrics, mostly silk scarps I had laying around. I was really pleased with how nice the velvet ones turned out! My personal favourite are the bug ones! The bumble bees were perfectly spaced to fit on the bow ties.


I made boxes with single bow ties and also ones with a set of matching men's and child's bow ties. Both bow ties are fake, but I tried as much as possible to make them look like real ones. I find the most telling part of the bow tie is the centre knot. With fake bow ties the knot is usually just a strip of fabric wrapped around once or twice. On a real bow tie the knot is real and so I tried to make my knot look real. Although mine are still tied with just a strip of fabric, I tried to twist it and tuck it to look like a real knot.


I really wanted the packaging to be nice, so it would be gift giving ready! Finding a box the right size for a bow tie is surprisingly tough! I searched for way too long. I was even willing to buy large quantities but still nothing! Either the box was square and too deep, or too big or closed wrong. Or it was a jelwery box that was about the right size but only one inch deep. As a last ditch effort I went to Dollorama in town and I found these! All I had left to do was print on them and fill them with paper shreds! 


This project really made me realize how much work goes into any retail product. For just this one thing, it was so much work! I first had to make and perfect the product, source all the findings and fabrics, then find the right box and filling, and make a logo and brand it, and so much more! It was a good learning project and I will be much more prepared if I create a fashion collection in the future.

On a completely unrelated note, I've been crazy sewing bodysuits since I finally downloaded the Nettie pattern from Closet Case Files! I know I'm way behind the times but wow its such a great pattern! I made one Friday night and haven't taken it off since! I will share some pictures next week hopefully! Thanks for reading!

Sunday, November 22, 2015

Winter Tunic and Blouse


This outfit was inspired by a street style shot I saw on pinterest. It was a tunic with this sort of crossed neckline, paired with a pussy bow blouse. This outfit was not quick to make! It took me over a week to finish it. I used really nice fabrics, so I wanted to make everything perfect.


I used a wool ponte knit for the tunic, and a stretch silk chiffon for the blouse/dress. I got both fabrics from The Fabric Room (they sell designer Lida Baday's overflow textiles). They were both really beautiful fabrics and a dream to work with. I've worked with the ponte knit before and already knew it was amazing, but the silk chiffon really blew me away. It didn't shrink at all with the heat of the iron as some similar fabrics do. I feared the hem might stretch and go wavy as I passed it through the sewing machine, but I didnt even have to worry about it, it was amazing! I really wish I could get more of this fabric. That's the thing with buying designer's overflow textiles, you usually can't get anymore once its gone. 


I used a basic blouse pattern I already had (Simplicity 4112), and altered it form there. I love to design my own patterns, but usually if its just a garment for myself, I don't start from scratch. I just look through my old patterns or Burda magazines and look for something with a similar basic shape of the design I want to achieve. This way half the work is done for me and all that is left to do is change up parts of the pattern and fit. For this blouse I replaced the collar with a long rectangle of fabric for the bow, I also took out the CF placket and just cut the front on the fold and added a slit down CF. I then lengthened the blouse into a dress length. I converted the sleeve pattern into one piece and added fullness to the bottom of it. I also shortened the sleeves and added a long, slim cuff. So much quicker than making the pattern from scratch! Plus I had made this blouse before so I knew it was a good fit on the bodice.


I made a bias cut slip to go under this, but after I had tights on and the tunic over it, it really didn't need the slip. I suppose if I ever chose to wear the blouse alone as a dress I would wear the slip under it.


The neck tie opens up at centre front, then once I have it on, I cross the ties, wrapping them around to the back and tie them into a bow. I can also keep them in front and tie them into a bow as well. Before putting the tie on, I hemmed it all the way around except for exactly the seam allowance I needed to sew it onto the neck of the shirt. I have a tiny rolled hemming foot for my machine, and I've heard a lot of people have trouble with it. It really is a fidely foot, but worth the hassle because it makes such a tiny beautiful hem. On fabric that is thin and hard to control I spray the edges that I want to hem with some spray starch and iron them. It stiffens them up so its much easier to handle and get it through that rolled hemming foot nicely. Then before I put the tie on, I rinsed it out in water, just to get most of the spray starch out. After it air dried, all I had to do was sew it to the neck edge and voila! 


I did all french seams on the blouse, except for the armhole seam. I trimmed it down to about a 1/4" and did a fake serging stitch I have on my sewing machine.  


I draped the tunic pattern on my dress form. I took a couple draping classes in university, but I never really practiced it much. So this was my first project since! It was simple so I figured it was a good place to start. I draped it in muslin first, because even though this fabric has stretch to it, it doesn't really need it because of the design. Really I could make this tunic again in a woven and it would probably work out just as nice. I couldn't seam to get around making a dart around the bust area on the tunic, but at last I tried just shifting the dart into the upper band to get rid of it and it worked beautifully!


This tunic doesn't have side seams, I chose to leave them open. The sides are only tacked for 2" (the width of the upper band). The rest is hemmed and left open. That is why I made the blouse into a dress, so when the tunic swings open theres no surprises!


I used a double needle to finish all the edges of the tunic. I wish I had a cover seamer! But I can fake it nicely enough. I slip stitches all the folds and edges to keep them closed and neat.


I dont do my own designs often enough! I usually tend to use a commercial pattern since its easier and there are so many great ones out there on my to do list. But I am really glad I decided to make this outfit. It was so much more work but totally worth it! I can't help but love that its completely one of a kind.


Sunday, November 15, 2015

Bug Shirt

I have bugs on my shirt! 


I was so excited to make this shirt! I got the fabric on my trip to London, England last year from Joel and Son. They have the most incredible collection of fabrics I have ever seen! If you ever get a chance to go, I definitely recommend it! Being from Canada, and the with the British pound being almost double the Canadian dollar last year, it was a huge splurge! For this shirt I used a Built by Wendy Simplicity pattern 4112. The Built by Wendy patterns were some of my favourites, its really too bad they don't have them anymore.


I almost didn't have enough fabric, I had to be really careful cutting, and I couldn't really match too much of the print. I would have needed double to fabric to match the centre front, and I can't even tell it doesn't match so I'm glad I didn't bother. I really just made sure it was on the same level and was going to flow relatively well from left to right.


The shirt was actually pretty quick to sew up and the fit was great! The only thing I would do next time, would be lower the centre front neck a scant half inch, since it sits a bit high on me.


I did flat felled seams everywhere except for the armhole seam. I usually would do a flat felled seam on the armhole, but with the fullness it was going to be difficult, but not impossible. The real reason I didn't do it, was because with a flat felled seam I would press the seam allowance toward the body, but it looked much better pressed toward the sleeve. It seemed to fill the gathers on the puff sleeve, so I just serged it.


For the collar I added in a pretty stiff interfacing. I like the crispness of the collar and it stands up really nicely. I had trouble with the CF placket. The placket is created by folding the fabric over twice, so that meant a layer right side facing up was sitting right below the front of the shirt. So all the bugs were showing through to the front, and it was looking pretty bad. I debated weather or not to interface the CF, but since I came to this problem I decided to add interfacing. I added 2 strips the width of the finished placket, one directly behind the fabric that shows in the front, and a second one behind that. This really helped hide the pattern from showing through. I was afraid it would make it too stiff, but in the end it was just right!


Originally I was planning to use white buttons, but I didn't have any. I loved these flat purple ones I had but I thought they might be too busy, with the already busy fabric. But they were actually way better than the white! They blended right in and were the prefect colour to match.


And..... I got new glasses! I couldn't resist showing them off! :P

I've been sewing and knitting up so many things lately, I'm thinking I might have enough to post every Sunday! So sometime you might see more than a post every two weeks! Thanks for reading! :)


Monday, November 2, 2015

Bohemien Maxi Dress

Follow my blog with Bloglovin

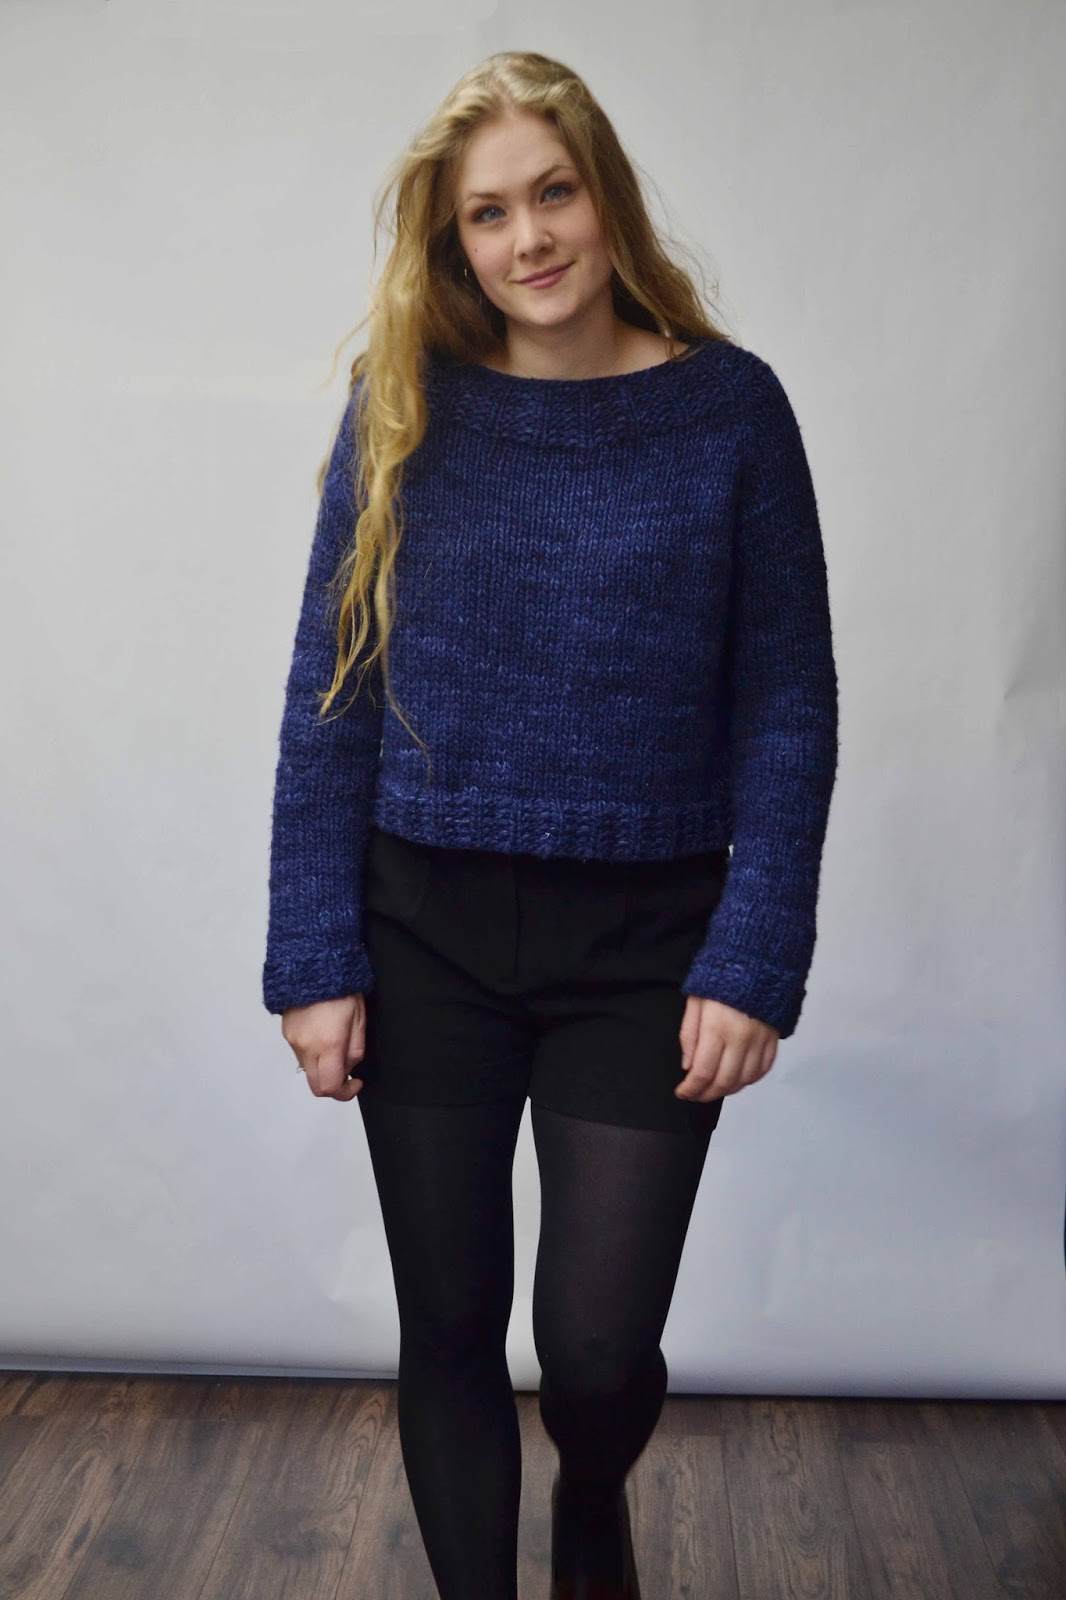
One of my favourite clothing brands is Free People, and this dress was definitely inspired by the brand! I made this dress using Simplicity 1939, a Cynthia Rowley design. I found this pattern for 1$ at Fabricland since it was an old pattern, but I think it's still totally in style! I am definitely feeling a boho sort of Fall and Winter! Now all I need is a Mongolian lamb fur vest to complete the outfit! 


I looked up pictures of the original dress on the runway and I was completely sold! I used a semi sheer polyester print, and I lined it with a bit of brown silk charmeuse. I made a few changes to the pattern. I was really surprised when I started reading the instructions that the entire dress, from head to toe, was lined. I wanted a more floaty and sheer dress, so I did away with most of the lining. I still lined the skirt yoke, and I drafted a flared mini skirt lining. I didn't want the outer fabric and the lining gathered in together on the skirt, I thought that might be bulky, so I just made the skirt lining flat. I then made the camisole from V1462, which I had originally planned to sew into the waist seam, but it turned out really pretty on its own, so I just wear it tucked into the waist of the dress. I was glad I had bought some extra of this fabric because I had to do some matching.


For the hip detail, I was hoping to find a wide, brown or purple velvet ribbon, but I couldn't find any. Instead I found a 1/4" velvet purple/black ribbon with sequins on it, and I layered that on top of bias tape I made from the brown silk fabric. Sometimes when you can't find what you had envisioned and you have to be creative you come up with something even better!


Halloween just passed and of course I made my costume! I found a Burda (7443) dirndl costume pattern at Fabricland for 1$ as well and that's all it took for me to decide what to dress up as this year! I sewed it up quick-and-dirty and it turned out surprisingly nice! Usually I read through the instructions, see what crazy things they say to do, before starting to even cut, but since it was just a Halloween costume, I didn't bother. So I was pretty horrified when it was too late and I realized I had no clue where the zipper was going to go. Turns out they just put it down centre front, but there is no seam down the CF skirt??? ................so they just cut a slit, slap the zip in, and do a messy dart thing to cover up the end of the zip! But it was too late to do anything different, so I did it and thanked goodness an apron was gonna cover up that mess!


The top is made out of a shirting cotton. The bodice of the dress is made out of a velvet remnant, which was the perfect opportunity to practice using velvet, since its a such a tough fabric to work with. The skirt of the dress and the apron are made from polyester taffeta-like fabrics.

Another strange instruction I didn't quite understand was that they tell you to interface all the bodice lining pieces, instead I interfaced the self fabric pieces, but only because it was a stretch velvet and I wanted to eliminate the stretch. I lined it in some left over kasha lining so it would have more structure.


I also changed up the sleeve on the cotton top, mostly because it was Friday night and I was getting lazy, and the Halloween party was Saturday, but I also didn't really love the giant poofy 3/4 length sleeve and that wide cuff. So I chopped it off short and added an elastic casing to make a short and cute gathered sleeve.  The apron is pleated using pencil pleating tape, which I had never heard of before. And inconveniently they didn't mention it as a notion on the back of the pattern envelope, so I got home without it. Pencil pleating tape is an upholstery notion, that is used to pleat up the tops of curtains. I found some at Fabricland and it worked out alright, but was a lot bulkier than I had hoped for. I'm guessing it must come in other widths and pleat depths but this one was all my Fabricland carried.


Unfortunately I didn't get many pictures of my costume! I got ready at my friends house and we were having too much fun to stop for pictures!

I couldn't help myself, I made my little man a costume too! A tiny knit dinosaur hat! I found the pattern for free on Lion Brand's website........he did NOT like it, neither did my other cat :(

Sunday, October 18, 2015

Winter Sweater

This is my favourite sweater on earth! I made one last year out of a dark pink and purple variegated yarn, and I wore it every second day of winter! My boss was probably sick of seeing me in it! Its just so warm and comfy! And it goes with everything too! 


But tragedy struck when I washed it! It was one of my very first knitting projects, and I really should have researched how to wash it, I know! So anyways, last years sweater would pretty much fit a Barbie now. The upside is I got to remake it in a new colour! And I think I made it way better this time too!


To make this sweater I used a pattern from the Berroco booklet #299, Delancy. I love the easy fit, slightly cropped length and extra long sleeves of this pattern. This sweater is knit on pretty big needles and with pretty chunky yarn, so it knits up really fast! I made it with really quality yarn, and it was pricey, but completely worth it because I wear it so much! When I love something I REALLY LOVE IT and never take it off.


This sweater is so versatile it even goes with my new ponte knit dress!


Sunday, October 4, 2015

Blue Ponte Knit Dress / First Post

My very first post! I am so excited to be starting this sewing blog, it has been something I wanted to do for a while now. For so many years I've loved reading many sewing blogs online and always wished I could share my sewing as well. This may be a bit ambitious, but I will try to post every second Sunday.

The Fall cold has finally come to Ontario, Canada. So this was my first Fall/Winter project! It was the perfect Summer to Fall transition piece! I made this dress using Vogue 1408 DKNY. 


All of my best fabric finds come from local designers selling off some of their excess fabric! It is always fabrics that I could never find myself, and usually sold at lower than wholesale prices. I got this navy blue ponte knit from a designer who went out of business and was selling off a ton of textiles. I was so excited when it arrived, because they threw in all the end pieces too, since it was the very last of it! Which was perfect for this exact project with all the panels!!


I decided to make it out of all the same fabric instead of doing a contrast. With all the seams and slightly different grains of the fabric, it ended up looking like a really subtle two tone dress.

When I first started it, I was kinda thinking I could get away without lining it at all, and have it be a really comfy knit dress. Until I tried it on, and wow was it itchy! I should have known the wool would probably bother my skin, so I had no choice but to line it! But I still wanted it to be comfy and stretchy! I finally found a really stretchy poly crepe type fabric and so I decided not to add a zipper since it was stretchy enough to easily pull over my head.


I had trouble with the lining popping out around the armholes and neck, so I ended up stitching in the ditch on most seams. And even that wouldn't hold down the lining at the back armhole, so I went inside and did a little hand stitch for a few inches invisibly between the lining and the self fabric, and that solved it!